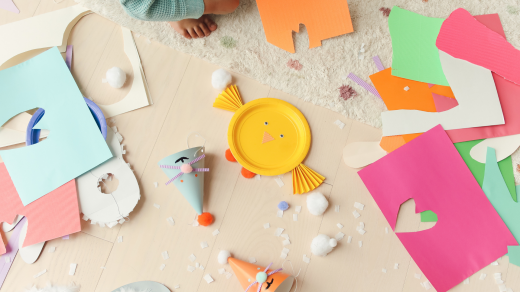
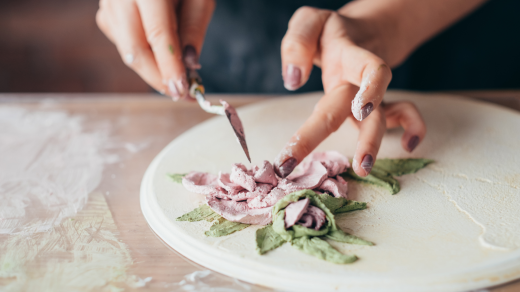
Creating customized art supplies opens up a world of creativity and personalization for artists of all levels. By making their materials, they can ensure that their tools align perfectly with their unique vision and artistic process. This approach not only fosters innovation but also allows for experimentation with various textures, colors, and mediums.
The process of crafting art supplies can be both fulfilling and economical. From homemade paints and pastels to custom brushes, artists can explore various recipes and techniques to find what works best for them. Embracing this DIY spirit encourages artists to think outside the box and can lead to surprising results.
Additionally, creating art supplies can promote sustainability. Many artists find that repurposing materials or using natural ingredients not only reduces waste but also enhances the authenticity of their artwork. This practice enriches their creative journey while being mindful of environmental impact.
Essentials of DIY Art Supplies
Creating art supplies at home involves understanding the right materials, and tools, and how to source quality ingredients. This knowledge equips artists with the ability to craft customized supplies that suit their unique artistic needs.
Understanding Materials and Tools
When making DIY art supplies, selecting the correct materials is crucial. Common ingredients include natural pigments like charcoal, spices, and clay, each offering unique color properties. Binders such as glue or egg yolk can help combine pigments into usable paints. For texture, elements like sand or sawdust can be added.
Tools play a significant role too. Mixing bowls, spatulas, and containers for storage is essential in the creation process. High-quality brushes, adapted for various applications, enhance the effectiveness of DIY supplies.
Sourcing Quality Ingredients
Finding quality ingredients for art supplies can greatly impact the final product. Local craft stores often carry essential materials, but exploring nature can yield unique resources. Pigments can be sourced from items like berries, flowers, and even soil. When searching for binders, options like cornstarch or gelatin are accessible and effective.
Utilizing recyclables for packaging helps in creating sustainable art supplies. Items like jars, tins, or recycled plastic containers serve as excellent storage options, reinforcing an eco-friendly approach to art making.
Creating Your Own Paints and Pigments
Crafting custom paints and pigments allows artists to express their creativity with unique colors and textures. Two accessible approaches include making watercolors and formulating glitter glue, providing a foundation for experimentation and innovation.
Mixing Watercolors
To create DIY watercolors, gather simple ingredients: cornstarch, baking soda, white vinegar, and corn syrup. These components work together to form a basic watercolor paint.
- Mix the Dry Ingredients: Combine 2 tablespoons of cornstarch and 2 tablespoons of baking soda in a bowl. This forms the base.
- Add Liquid Ingredients: Gradually stir in 2 tablespoons of white vinegar and 1 tablespoon of corn syrup. Mix until smooth.
- Incorporate Pigments: Use food coloring or natural dyes, such as beet juice or turmeric, to achieve desired hues. Experiment with quantities to create various shades.
Pour the mixture into an ice cube tray or small containers and let it dry for 24 hours. This DIY watercolor provides vibrant options for painting.
Formulating Glitter Glue and Textured Mediums
Creating glitter glue involves mixing simple ingredients for a sparkly artistic effect. Start with clear school glue as the primary base.
- Measure the Glue: Take 1 cup of clear glue and pour it into a mixing bowl.
- Add Glitter: Stir in 1-2 tablespoons of fine glitter in desired colors. The amount of glitter can vary depending on how sparkly one wants the final product.
- Optional Textures: For textured mediums, mix in materials like sand or salt. This combination adds depth and interest to artworks.
Once mixed, store the glitter glue in a clean container. This DIY creation enhances various projects, from simple crafts to more complex artworks.
Designing Custom Stamps and Stencils
Creating personalized stamps and stencils allows artists to express their creativity uniquely. Custom tools enhance both the artistic process and the final product, making them essential for any DIY art supply project.
Carving Stamps for Unique Patterns
Carving stamps can produce distinctive designs for various art applications. To begin, an artist should choose a sturdy material, such as rubber or linoleum. Using a carving knife, precise patterns can be etched into the surface.
Steps for carving stamps:
- Sketch a design: Start with a simple drawing on paper.
- Transfer the design: Trace it onto the carving block.
- Carve carefully: Remove the unwanted areas to create the stamp.
Artists can use these stamps for printmaking, crafting cards, or adding texture to mixed media projects. Experimenting with different shapes and sizes can lead to exciting new patterns.
Crafting Stencils for Consistency
Stencils offer a practical way to replicate designs consistently. They can be made from various materials, including plastic sheets or cardstock. Choosing the right thickness is important for longevity and usability.
To create a stencil:
- Design your image: Use software or draw it by hand.
- Transfer to stencil material: Ensure the design fits within the size desired.
- Cut out the design: Use a craft knife for clean edges.
Stencils are often used in painting, scrapbooking, and home decor. They help achieve uniform shapes and patterns, making them ideal for larger projects where precision is key.
Exploring Outdoor and Large-Format Projects
Creating art supplies for outdoor and larger-scale projects can be a rewarding experience. Making homemade materials allows for unique artistic expressions, especially with items like sidewalk chalk that invite experimentation.
Producing Homemade Sidewalk Chalk
Making sidewalk chalk at home is straightforward and requires minimal ingredients. The basic recipe includes:
- 2 cups of Plaster of Paris
- 1 cup of water
- Food coloring (optional)
- Molds (for shaping)
To begin, mix the Plaster of Paris and water in a bowl. Stir until smooth, then add food coloring to achieve the desired hue. Pour the mixture into molds, which can be silicone molds or cardboard tubes.
Leave the molds to dry for 24 hours. After this time, carefully remove the chalk and let it cure for a few more days. This process allows the chalk to harden completely, making it ready for outdoor use. When done, it can be used to create vibrant art on sidewalks or driveways.