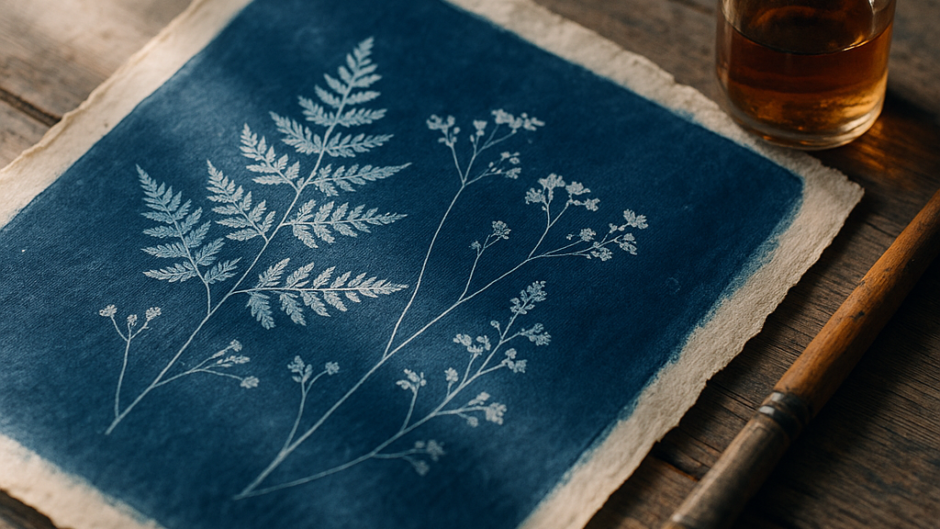
In a world dominated by digital sensors and instant previews, there’s something quietly radical about coating paper with iron salts, laying botanicals on top, and letting the sun do the rest. The cyanotype process is one of photography’s oldest surviving techniques — and arguably one of its most accessible. With a distinctive Prussian blue palette and a production method that hasn’t changed much since 1842, cyanotype sits at a fascinating crossroads between chemistry, art, and history. Whether you’re a seasoned darkroom practitioner or someone who’s never touched a chemical in their life, this process has a way of drawing people in and holding them there.
A Brief History: Sir John Herschel and the Blueprint Era
The cyanotype process was invented by English scientist and astronomer Sir John Herschel in 1842, making it one of the earliest photographic processes ever developed. Herschel discovered that ferric ammonium citrate and potassium ferricyanide — when combined and exposed to ultraviolet light — would produce a stable, vivid blue image. He shared his findings with botanical illustrator Anna Atkins, who became the first person to use photography as a scientific documentation tool. Her 1843 publication, Photographs of British Algae: Cyanotype Impressions, is considered by many historians to be the first photographically illustrated book ever produced.
Beyond its artistic applications, the cyanotype found enormous commercial utility throughout the 19th and 20th centuries as the process behind blueprints — the large-format architectural and engineering drawings that defined construction documentation for over a century. It wasn’t until the rise of digital drafting tools in the 1990s that blueprints faded from professional practice, though the name has endured as a colloquialism. Today, cyanotype exists almost entirely as an artistic and hobbyist medium, and its popularity has been surging steadily thanks to the alternative photography revival happening across social platforms and art communities.
Understanding the Chemistry: How Cyanotype Actually Works
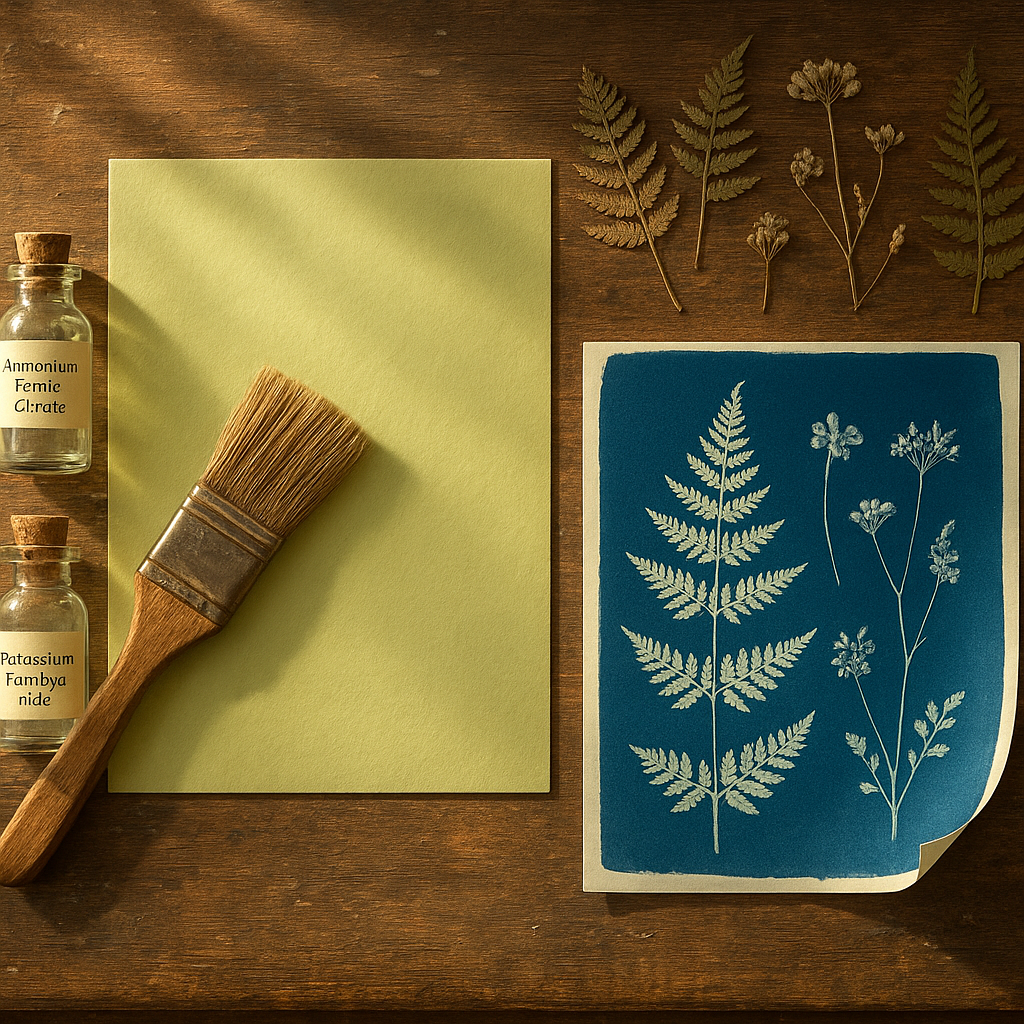
At its core, the cyanotype is a photochemical process based on iron chemistry rather than silver, which is what makes it so different from most traditional photographic methods. Two solutions are prepared separately and then mixed together immediately before coating:
- Solution A: Ferric ammonium citrate (green variety) dissolved in water
- Solution B: Potassium ferricyanide dissolved in water
When combined and applied to a surface, these chemicals form a light-sensitive coating. Upon UV exposure, the iron in the ferric ammonium citrate is reduced from ferric (Fe³⁺) to ferrous (Fe²⁺) ions. These reduced iron ions then react with the ferricyanide to produce ferric ferrocyanide — also known as Prussian blue — the pigment responsible for that unmistakable deep cyan color.
Areas blocked from UV light (by a negative, an object, or an opaque material) remain unreacted and wash away during development, leaving white or pale paper beneath. The result is a photogram or contact print with crisp tonal contrast and that immediately recognizable blue aesthetic.
What You Need to Get Started
One of cyanotype’s most appealing qualities is its relatively low barrier to entry compared to silver-gelatin or platinum-palladium printing. The basic supply list is short and most items are easily sourced online or through art supply stores.
Essential Materials
- Cyanotype chemistry: Available as pre-mixed kits or as individual chemicals for mixing from scratch
- Substrate: Watercolor paper (140 lb or heavier works best), cotton fabric, or other natural-fiber materials
- Coating tool: A foam brush, glass rod, or hake brush for even application
- UV light source: Direct sunlight is the most accessible option; UV exposure units offer more consistency
- Negatives or objects: Transparent inkjet negatives for photographic prints, or physical objects for photograms
- A tray of water: For washing out the print after exposure
One thing worth noting is that cyanotype chemistry is remarkably forgiving compared to other alternative processes. The chemicals are relatively stable when stored separately in dark bottles and can last for months. The coating itself, once dried in darkness, can also be stored for several days before printing.
The Step-by-Step Cyanotype Workflow
The process can be broken down into five stages: mixing, coating, drying, exposing, and washing. Each step has its own nuances that are worth understanding before diving in.
Mixing and Coating
Solutions A and B are typically mixed in equal parts immediately before use. Under subdued artificial light (avoid fluorescent bulbs, which emit UV), apply the mixture evenly to your substrate using smooth, overlapping strokes. The goal is a consistent layer without pooling or streaking. Allow the coated paper to dry completely in a dark or dimly lit space — a closet or a drawer works perfectly. Rushing this step or coating unevenly are among the most common beginner mistakes.
Exposure
Place your dried, coated paper in a contact printing frame or under a piece of glass. Lay your negative or objects on top and expose to UV light. In direct midday summer sun, exposure times can be as short as 3–6 minutes. On overcast days or with a UV lamp, this can stretch to 15–30 minutes. You’ll know exposure is progressing when the coated areas shift from yellow-green to a bronze or slate-gray color. The image will look dramatically overexposed at this stage — that’s completely normal.
Washing and Oxidation
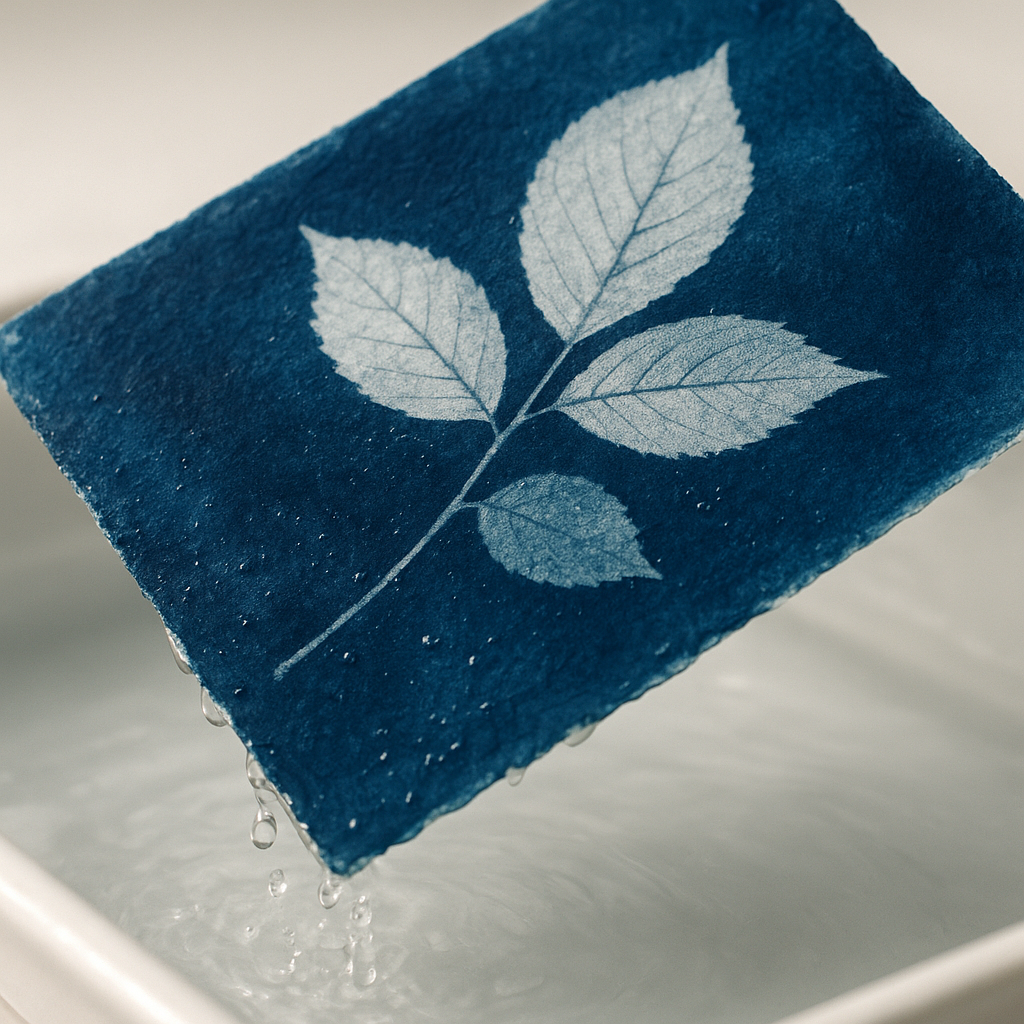
Remove the paper from the frame and rinse thoroughly in clean, cool water for 2–5 minutes, agitating gently. As the unexposed chemistry washes away, the deep Prussian blue color will begin to emerge and intensify. This oxidation process continues after washing — prints will deepen noticeably over the next 24 hours as the image oxidizes in open air.
People Also Ask: Answering the Most Common Cyanotype Questions
What Are Common Cyanotype Mistakes?
The most frequent issues beginners encounter include uneven coating (which leads to blotchy prints), insufficient drying time before exposure, underexposure (resulting in pale, washed-out blues), and overexposure (which causes highlights to fill in and shadow detail to be lost). Coating on heavily sized or non-absorbent paper is another common culprit for poor adhesion and muddy results. Starting with a quality watercolor paper like Fabriano Artistico or Arches makes a significant difference.
What Does Hydrogen Peroxide Do to Cyanotype?
A diluted hydrogen peroxide bath — typically 3% solution, which is the standard drugstore concentration — is sometimes used immediately after washing a cyanotype print. It dramatically accelerates the oxidation process, bringing out the deep blue tones almost instantly rather than waiting 24 hours. While convenient, some practitioners prefer natural oxidation because it can produce a slightly richer tonal range. It’s worth experimenting with both approaches to see which suits your workflow.
What Does Vinegar Do to Cyanotype?
Adding a small amount of white vinegar to the final wash water slightly acidifies the rinse, which can improve the richness and longevity of the blue tones. Cyanotype chemistry is sensitive to alkalinity — alkaline water (hard water in particular) can cause the image to appear brownish or muted rather than a clean blue. A few drops of white vinegar per liter of rinse water helps counteract this. It’s a simple fix that makes a surprisingly noticeable difference in areas with hard water.
What Are Some Alternatives to Cyanotypes for Photography?
The broader world of alternative photographic processes is rich and varied. Some popular alternatives include:
- Van Dyke Brown: A warm-toned, iron-based process producing brown sepia prints
- Platinum/Palladium printing: Considered by many to be the gold standard of alternative printing for its extraordinary tonal range
- Gum bichromate: A pigment-based process that allows for full color printing and a painterly aesthetic
- Lumen printing: Photograms made without chemistry, using the sun alone to expose silver gelatin paper
- Salted paper printing: One of the earliest photographic methods, producing warm, matte prints with a distinctive texture
Cyanotype is often recommended as a first alternative process precisely because it’s forgiving, affordable, and produces results that are immediately visually rewarding.
Advanced Cyanotype Techniques Worth Exploring
Once the basics feel comfortable, there are numerous directions to take the process further. Toning is one of the most popular advanced techniques — soaking a finished cyanotype in tannin-rich substances like black tea, coffee, or red wine can shift the blue image toward green, brown, or near-black tones depending on the concentration and soak time. Each toning agent produces slightly different results, and the interaction between the iron compounds in the print and the tannins in the toner is part of what makes experimentation so compelling.
Digital negatives open up the process to photographic imagery beyond simple silhouettes. By printing a high-contrast, inverted image onto transparency film using an inkjet printer — with appropriate curve adjustments for the cyanotype’s particular tonal response — it’s possible to make detailed photographic contact prints with genuine shadow, midtone, and highlight differentiation. This is where the process starts to feel less like a craft activity and more like a serious photographic medium.
Printing on fabric is another avenue with considerable depth. Cotton, linen, and silk all accept cyanotype chemistry to varying degrees, and the results can be used in quilting, wearable art, and textile installation work. Some artists use this technique to create large-scale environmental prints by exposing enormous pieces of fabric outdoors using the actual landscape as a background light source.
Conclusion
The cyanotype process endures not in spite of its limitations but partly because of them. Its fixed blue palette, its reliance on sunlight, its intimate contact between object and surface — these constraints push practitioners toward a kind of intentionality that purely digital work rarely demands. Understanding the chemistry helps demystify the process: two iron-based solutions, light, water, and time. Knowing that vinegar stabilizes the tones, hydrogen peroxide speeds up oxidation, and uneven coating is the most common beginner pitfall gives anyone starting out a meaningful head start. Whether the end goal is a simple botanical photogram pressed from the garden or a sophisticated toned print made from a digital negative, the process rewards patience and experimentation in equal measure. Few photographic methods offer such a direct, tactile connection between the maker and the image.