Mastering night photography can transform ordinary scenes into stunning visuals. To achieve great results, one must understand the interplay of light, camera settings, and composition. With the right techniques, anyone can capture the magic of the night, from cityscapes illuminated by streetlights to starry skies filled with celestial wonders.
To begin, grasping the fundamentals of camera settings is crucial. Using a tripod, selecting the appropriate ISO, and adjusting exposure times can all make a significant impact on the final image quality. Experimentation with different settings not only improves skills but also fosters creativity.
Beyond technicalities, seeing the world in low light provides unique opportunities for artistic expression. Learning to visualize compositions in the dark can elevate night photography to new heights. Embracing these principles will empower photographers to create breathtaking nighttime images that resonate with viewers.
Understanding the Basics of Night Photography
Night photography poses unique challenges and opportunities. Mastery begins with understanding camera settings, the significance of ISO, the role of aperture, and the importance of shutter speed.
Exploring Camera Settings for Low Light
For low-light conditions, photographers must adjust their camera settings to capture the best images. Key settings to consider include manual mode, which allows full control over exposure, and using a tripod for stability.
Additionally, enabling image stabilization and utilizing tools like a remote shutter release can help eliminate camera shake. Extensions such as live view assist in composing shots in dim lighting.
Using histograms on camera displays aids in assessing exposure while shooting. Prioritizing these settings ensures clearer and more balanced images.
The Role of ISO in Nighttime Shots
ISO sensitivity determines how much light the camera sensor collects. A higher ISO setting allows for better exposure in low light, but it can introduce digital noise.
In night photography, an ISO range of 800 to 3200 is often effective. Experimenting with ISO settings helps photographers find a balance between brightness and noise levels.
For landscapes or cityscapes, lower ISO values may be preferable to maintain clarity. Increasing the ISO can be beneficial for capturing fleeting subjects or movement in darker environments.
Aperture and Its Impact on Night Images
Aperture affects the amount of light entering the camera and the depth of field in images. A wider aperture, represented by a lower f-stop number, allows more light to reach the sensor, ideal for night shots.
For star photography or city lights, apertures of f/2.8 or f/4 can create sharp images with beautiful bokeh effects. However, using a narrower aperture, like f/8 to f/11, increases depth of field, making it useful for broader landscapes.
Photographers must judiciously select an aperture based on their subject matter and desired focus.
Mastering Shutter Speed in the Dark
Shutter speed controls the duration the camera’s sensor is exposed to light. Longer exposures can result in brighter images but may lead to undesirable motion blur, especially with moving subjects.
In night photography, shutter speeds of 1 second to several minutes can produce stunning results. It is essential to maintain stability using tripods or fixed surfaces during longer exposures.
Using bulb mode is effective for extended exposures, especially in nightscapes. Photographers should experiment with different speeds to achieve the desired effects while avoiding blur from unintended movements.
Equipment Essentials for Night Photography
To capture stunning images at night, photographers require specific gear designed to perform well in low-light conditions. Understanding the essential equipment can significantly enhance the quality of night photographs.
Choosing the Right Camera and Lens
A camera with excellent low-light performance is crucial for night photography. DSLR or mirrorless cameras are preferred due to their larger sensors, which gather more light.
Key features to consider:
- ISO Range: Look for a camera that can handle high ISO settings without significant noise.
- Sensor Size: Full-frame sensors typically yield better performance than crop sensors in low light.
When selecting a lens, a wide aperture (f/2.8 or wider) will allow more light to hit the sensor. Additionally, a lens with image stabilization can help reduce blur from camera shake during long exposures.
Utilizing Tripods for Stability
A sturdy tripod is indispensable for night photography. Long exposure times are often necessary in low-light settings, making any camera movement detrimental to image sharpness.
Consider the following when selecting a tripod:
- Material: Carbon fiber tripods are lightweight and sturdy, ideal for portability.
- Height and Stability: Choose a tripod that can extend to a comfortable height and has a stable base to counteract wind.
A tripod also enables the use of longer shutter speeds, resulting in clearer images. It allows photographers to experiment with techniques like light painting or capturing star trails effectively.
The Importance of Remote Shutter Releases
Using a remote shutter release helps eliminate camera shake that occurs when pressing the shutter button manually. This accessory is crucial for sharp images, especially during long exposures.
Types of remote shutter releases include:
- Wired: Directly connects to the camera and is generally more cost-effective.
- Wireless: Offers more flexibility and convenience, allowing distance from the camera.
Additionally, many cameras now have built-in options for smartphone control, providing another layer of convenience. It’s important to choose a remote that is compatible with the specific camera model for seamless operation.
Advanced Techniques and Composition
Mastering advanced techniques in night photography enhances creativity and technical skill. Focusing on long exposures, reducing noise, and creative composition can produce stunning results.
Long Exposure and Light Trails
Long exposure captures stunning night scenes by allowing more light to hit the sensor. To achieve this, a tripod is essential for stability. Set a low ISO, usually between 100 to 400, to reduce noise.
Use a remote shutter release or timer to prevent movement when pressing the shutter.
To create captivating light trails, experiment with shutter speeds. A range between 5 to 30 seconds is effective for capturing moving lights, such as cars.
Including foreground elements adds depth. This combination can transform standard night scenes into visually striking images.
Capturing Sharpness and Reducing Noise
Sharpness is crucial in night photography. A good quality lens can make a significant difference in detail clarity.
To minimize noise in images, utilize a lower ISO setting. Often, a setting of 100 to 800 works best. Noise reduction software can also help, especially in post-processing.
Use a lens aperture of f/2.8 or wider to allow more light. It enhances both sharpness and sensitivity. Ensuring appropriate focus is also vital. Manually setting focus can prevent autofocus issues, particularly in low light.
Creative Composition in Low Light
Creative composition elevates night photography. Begin by applying the rule of thirds. Placing subjects off-center creates a more dynamic image.
Incorporate leading lines to guide viewers’ eyes through the photograph. Elements like roads, water, or silhouettes can enhance visual storytelling.
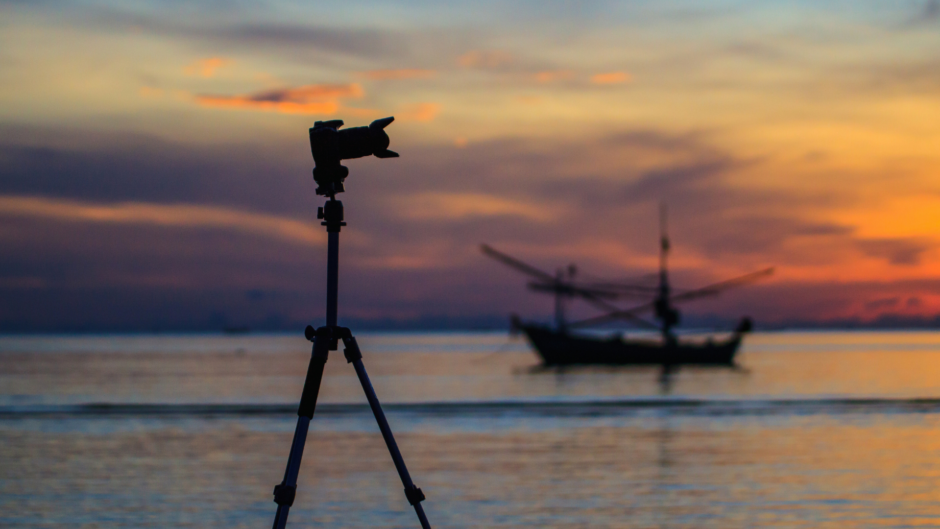
Consider using silhouettes against bright backgrounds. This technique emphasizes shapes and adds drama. Experimenting with reflections in water or wet surfaces brings additional layers to photographs.
Utilizing negative space also promotes focus on the subject. A well-composed night photo communicates a strong sense of atmosphere and emotion.
Post-Processing Night Photographs
Post-processing is crucial for enhancing night photographs. Proper editing can bring out details and improve overall image quality.
Key adjustments to consider:
- Exposure: Increase exposure to brighten dark images without losing highlights.
- Contrast: Enhance contrast to make subjects stand out against the background.
- White Balance: Adjust white balance for a more natural color representation.
Common tools used:
| Tool | Purpose |
| Lightroom | For general adjustments and presets |
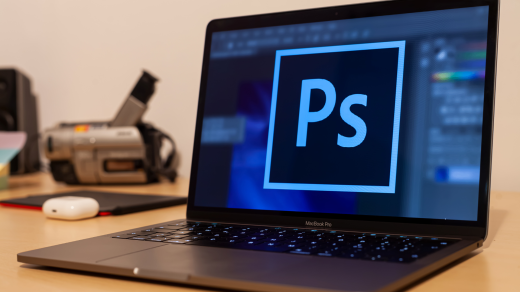
| Photoshop | For advanced editing and retouching |
| Noise Reduction Software | To minimize noise in high ISO images |
Editing tips:
- Use curves to fine-tune brightness and contrast.
- Apply sharpening to bring clarity to details.
- Experiment with hue and saturation to adjust colors.
It’s essential to keep a copy of the original image. This allows for reverting changes if needed.
When working in low light, images often exhibit noise. Applying noise reduction techniques can greatly improve the final result.
Post-processing is an art that can elevate night photographs to new heights. Proper techniques will help achieve stunning visuals that capture the essence of nighttime scenes.