November 2020

Mastering The ISO Art

I am fascinated by the way light plays with the image in an image. I like to keep my eye on the light and the nature of light. I try not to be constrained by the rules of photography, and I never worry about the technical aspects. I always try to use the software most suited to my needs. I am a raw shooter, and I still like to keep the original files raw, and I often shoot at ISO 3200.

Before digital cameras were even invented in the dark ages of film photography, a photographer had to think about exposure and focus during the film development process. The light meter in the camera was not enough, and the photographer had to make a judgment call about where the camera should focus and how much time to expose the film for the given ambient light on the scene.

What is ISO?

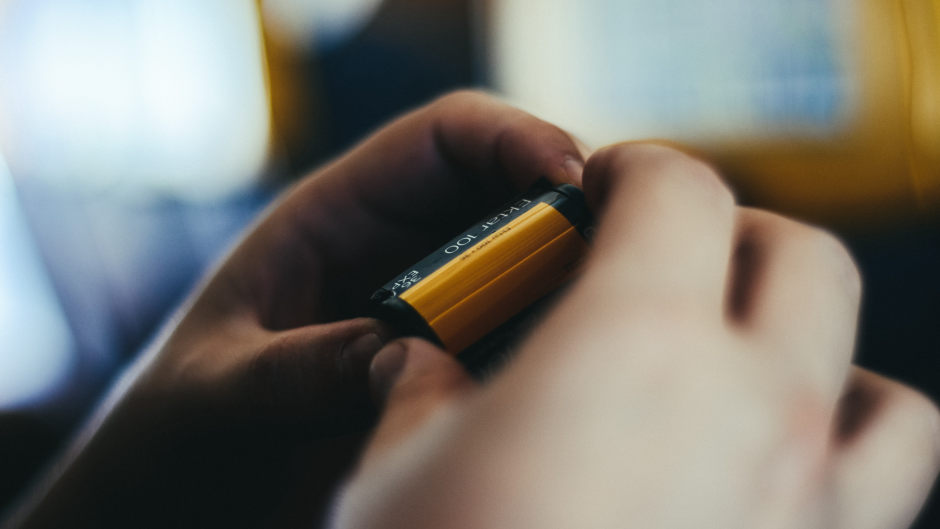
ISO is an acronym for International Standard Film, and it is a measurement of film speed. In the photography world, ISO (or ISOs) are used to describe the sensitivity of an image sensor to light. The more sensitive the sensor is to light, the higher the ISO will be. The term ISO (International Standards Organization) has a variety of meanings and uses in the world of photography. What is ISO? What is a good ISO setting?

What is the best ISO setting for a landscape with a good depth of field? How do you know if your ISO settings are good? This is a difficult question to answer because there are so many variables between cameras and subjects. The best place to start is by looking at photos with different ISO settings. Most beginners to the world of photography have a difficult time getting their photos to look like the images in their heads. They don’t have the right light, the right subject, their composition is off, or their camera just isn’t working. It is a common problem that requires more than one shot to get the image you want, but how many shots are needed depends on the situation.

What do ISO Numbers mean?

ISO numbers are how a camera tells the light meter how much light it needs to put on a pictures’ sensor to produce a proper exposure. The lower the ISO number, the less light the camera needs and the more noise the pictures will have. A good way to control noise is to use slower shutter speeds. For this reason, many camera manufacturers, including Canon, Nikon, Sony, and Sony Alpha, have added ISO numbers to their cameras for that purpose.

When it comes to photography, the higher the ISO value, the lighter the camera sensor can collect, but cameras typically do this without sacrificing image quality. Most digital SLR cameras have an ISO range from 100-3200, meaning ISO numbers are how a camera tells the light meter how much light it needs to put on a picture sensor to produce a proper exposure. ISO numbers below 100 result in fewer light requirements by the camera, resulting in higher noise levels, making it necessary to edit the photographs with noise reduction tools made available by the likes of Topaz Labs. A good way to control noise is to use slower shutter speeds. For that reason, many camera manufacturers, including Canon, Nikon, Sony, and Sony Alpha, have added ISO numbers to their cameras. They take in a huge amount of light but still maintain a high-quality image. For example, you can take a picture of a full moon on a clear night and get a picture indistinguishable from a full moon shot at ISO 100. A camera with a higher ISO will also do better in low-light situations. For instance, using a high ISO in low light will allow you to take pictures of a room full of people with little to no flash.

For those of you who are new to the scene, an ISO (International Standards Organization) is a measurement of the light sensitivity of a sensor. In other words, it is a measure of light sensitivity. As we all know about ISO, the light sensitivity, we can change the camera’s sensitivity, the higher the ISO number, the more sensitive camera will be, but the noise will be more. Contrarily, if the ISO number is low, it will produce less noise, but the picture will be grainier.

How to Improve Nature Photography Skills

I like nature photography because of my love for flora and fauna. However, this venture has its fair share of challenges due to the variety of subjects and movements involved. But with some tips from experts, I have been able to hit the trail and capture some of the most stunning images. They include the following:


Respect the Wildlife and Their Environment

Whenever I embark on a nature photography mission, I make sure that I only leave my footprints–leaving the environment as pristine as possible. Even for the biodegradable rubbish like banana peels, I always take them home. Nature is composed of a sensitive world that is home to an array of living things, and should thus be undisturbed.


Carry Crop Sensor Camera Body

Although I have both the crop sensor camera body and a full-frame, I always bring along the crop sensor camera. With a crop sensor camera, the lenses produce a desired effective focal length. This comes in handy when shooting animals. When snapping animals, I maintain a certain distance to avoid scaring my subjects. A crop sensor camera body gives a 1.6x magnification over the full-frame camera, implying that with a crop sensor, I have to move as close as possible to my targets.


Applying Different Angles and Perspectives

When planning for nature photography, I do it to meet my needs and all that will make me happy. I don’t plan to meet another person’s sense of style, or to please anyone. I have not hit the professional level yet, and so, I always take time to through the works of other photographers to get a glimpse of what quality entails.


I pay attention to the angles used, the coordination of colors within a frame, and the distance maintained with the subject. After this analysis, I sometimes try different approaches like varying the angle. For instance, where others shoot at wide angles, I shoot a close-up.


There’s a wide range of beautiful setups in the outdoors, and I always aim to maximize every moment. In as much as I review works by various experts, I employ my own creativity both in shooting and editing.


Shooting During the Best Time of the Day

From experience, dawns and dusks are the best time to do the shooting. One of the advantages of shooting either early in the morning or the evenings is because there are fewer crowds. This is particularly convenient in areas with high tourist traffics such as famous landmarks and popular national parks. Still, most animals are active at dawn or dusk but escape the heat during the day.


Using Natural Lights

If I want to shoot great natural photos, then I aim them either in direct or indirect light from the sun or the moon. Before sunset or just after sunrise, the light is softer and hazier. It’s at this time that I’m assured the harsh midday shadows are eliminated, and the objects well illuminated.


Subjects like the leaves of a tree or a hummingbird are softly lit with the golden hues of a setting or a rising sun. Such lights add an emotional overlay to my photographs, and there’s a clear difference between shots taken in the morning and evening.


Using the Best Camera

I always trust whatever camera that I have as the best there is. I have in the past created some amazing photography using Android devices. Therefore, it’s not a must that I arm myself with a DSLR. Any gadget with a smaller aperture, dual lenses and optical zooming is up the task.


Packing the Right Gear

Besides the high tech lenses and cameras, other things are crucial when venturing out for nature photography. These include batteries, tripods, appropriate clothing, gloves, hats, and jungle boots. I also bring a compass to help in navigation.


Study the Subjects

One critical aspect of nature photography is to study the subjects. This helps me to capture the images of the things that I understand. Additionally, once I know the habits of my subjects, then I can also predict the shots. For example, I would know when a plant is about to bloom, or when a swan is about to charge. If an animal does not exhibit hostile traits, then I can be sure of safely capturing close-up photography.